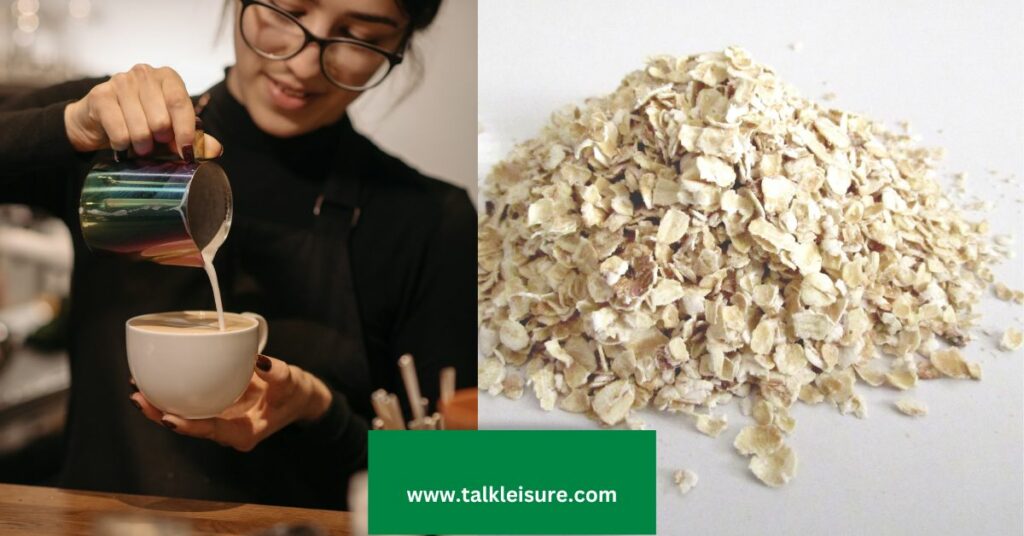
Are you a coffee lover who enjoys a creamy, frothy latte or cappuccino? If so, you may be interested in trying out barista-style oat milk as a dairy-free alternative to traditional milk. Not only is oat milk a great option for those with lactose intolerance or vegan diets, but it also has a creamy texture and mild flavor that pairs perfectly with coffee.
In this blog post, we’ll walk you through the steps of making your own barista oat milk at home.
With just a few simple ingredients and some basic equipment, you can whip up a batch of frothy, delicious oat milk that’s perfect for adding to your morning cup of joe. So grab your blender and let’s get started!
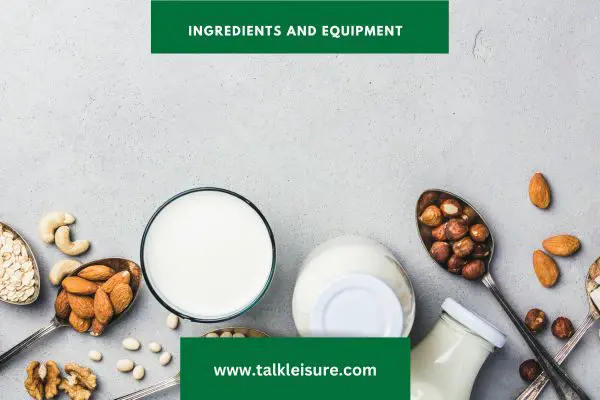
Ingredients and Equipment: Making Oat Milk at Home
Before you start making barista oat milk, it’s important to make sure you have all the necessary ingredients and equipment on hand.
Luckily, making oat milk at home requires just a few simple ingredients and some basic kitchen tools. In this section, we’ll go over the ingredients you’ll need to make barista oat milk and the equipment you’ll need to make it.
Ingredients
- Oats: Rolled or steel-cut oats work best for making oat milk.
- Water: Filtered water is recommended for the best flavor.
- Salt: A pinch of salt helps to enhance the flavor of the oat milk.
- Optional sweeteners: You can add sweeteners like maple syrup, honey, or agave syrup to your oat milk if desired.
Equipment
- Blender: A high-speed blender is recommended for the smoothest and creamiest oat milk.
- Nut milk bag or cheesecloth: You’ll need a fine mesh bag or cloth to strain out the oat pulp.
- Measuring cups and spoons: To ensure accurate measurements.
- Airtight container: is needed to store your oat milk in the fridge.
It’s worth noting that you can make oat milk with just oats and water if you prefer a more minimalist approach, but the salt and sweeteners can help to add flavor and make the oat milk more versatile for use in recipes or as a standalone drink.
As for equipment, a blender and nut milk bag are the essential tools you’ll need to make barista oat milk, but you can also use a fine mesh strainer if you don’t have a nut milk bag on hand.
| Ingredients | Equipment |
| Rolled or steel-cut oats | Blender |
| Filtered water | Nut milk bag or cheesecloth |
| Pinch of salt | Measuring cup and spoons |
| Optional sweeteners (maple syrup, honey, agave syrup) | Airtight container |
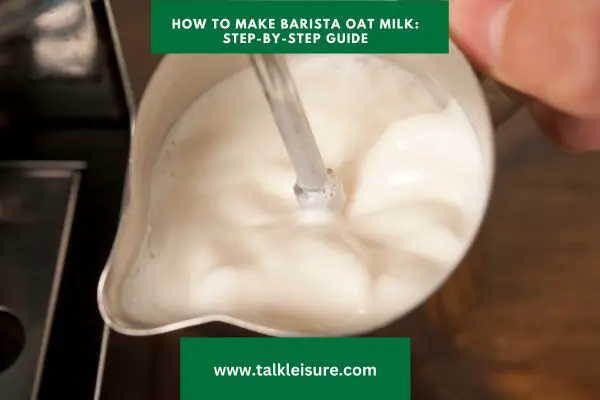
How to Make Barista Oat Milk: Step-by-Step Guide
Now that you have your ingredients and equipment ready, it’s time to start making your own barista oat milk!
In this section, we’ll guide you through the step-by-step process of making oat milk at home. With just a few simple steps, you can have a delicious and creamy dairy-free milk alternative to add to your coffee or use in your favorite recipes.
So grab your blender and let’s get started!
- Soak the oats: Place 1 cup of rolled or steel-cut oats in a bowl and cover with water. Let them soak for at least 30 minutes (or up to overnight) to soften.
- Rinse the oats: Drain the soaking water and rinse the oats thoroughly with fresh water to remove any excess starch.
- Blend the oats and water: Add the rinsed oats to a blender along with 4 cups of filtered water, a pinch of salt, and any optional sweeteners (such as maple syrup or honey). Blend on high speed for 30–60 seconds, or until the mixture is smooth and creamy.
- Strain the oat milk: Pour the blended mixture through a nut milk bag or cheesecloth into a bowl or pitcher. Use your hands to squeeze out as much liquid as possible.
- Froth the oat milk (optional): If you want to create a frothy texture for your oat milk, you can use a frother or whisk to create foam. You can also re-blend the oat milk for a few seconds to incorporate more air.
- Store the oat milk: Pour the oat milk into an airtight container and store in the refrigerator for up to 5 days. Shake well before using, as the mixture may settle.
This step-by-step guide outlines the basic process of making barista oat milk at home.
You can adjust the sweetness and thickness of the milk to your liking by varying the amounts of oats and water used.
And don’t worry if you don’t get the perfect texture on your first try; it may take a bit of experimentation to find the right ratio and technique for your preferences.
Tips for Achieving the Perfect Texture and Froth for Barista-Style Lattes
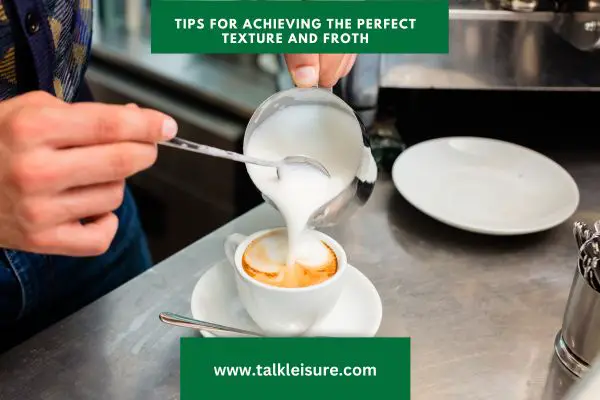
To achieve the perfect texture and froth for your barista’s oat milk, there are a few key tips to keep in mind. First, it’s important to use a high-speed blender that can effectively break down the oats and create a smooth and creamy texture.
If your blender is not powerful enough, you may end up with gritty or chunky oat milk.
Next, make sure to strain the oat milk well through a nut milk bag or cheesecloth to remove any oat pulp or grittiness.
The more thoroughly you strain the milk, the smoother the texture will be.
You can also adjust the water-to-oats ratio to achieve the desired thickness. For a creamier texture, use less water. For a thinner texture, use more water.
Another option is to add a natural thickener such as chia seeds or xanthan gum to the blender before blending. This can help create a thicker texture without adding any artificial thickeners or additives.
To create a frothy texture, it’s best to froth the oat milk while it’s still warm.
You can use a frother or whisk to create foam, or re-blend the oat milk for a few seconds to incorporate more air.
Using a frothing pitcher can also be helpful for achieving the perfect texture and froth.
These pitchers are designed to create microfoam and can be used with a handheld frother or steam wand.
By following these tips, you can achieve a smooth and creamy texture for your barista’s oat milk, as well as a frothy texture that’s perfect for lattes and cappuccinos.
Experiment with different ratios and techniques until you find the perfect recipe for your preferences.
Storing and Using Your Barista Oat Milk
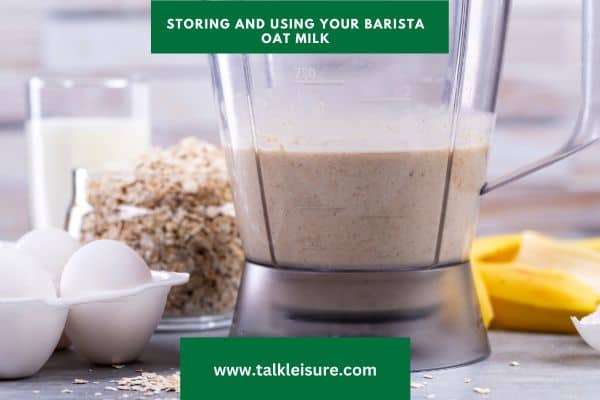
Once you’ve made your barista oat milk, it’s important to store it properly so it stays fresh and delicious for as long as possible.
First and foremost, you should transfer the oat milk to an airtight container before placing it in the refrigerator.
A mason jar or glass bottle with an airtight lid is perfect for this.
The airtight container will help prevent the oat milk from absorbing any unwanted flavors from other foods in the fridge.
It’s also important to use your oat milk within 5-7 days.
Freshly made oat milk will typically last for up to a week in the fridge, but after that, it may start to spoil and develop an off taste.
Therefore, it’s best to make smaller batches more frequently rather than trying to make a large batch that you won’t be able to finish in time.
Before using your oat milk, be sure to give it a good shake to re-incorporate any separation that may have occurred.
Oat milk can separate over time, so it’s important to ensure that it has a smooth and consistent texture before using it in your drinks or recipes.
When it comes to using your barista’s oat milk, it’s versatile and can be used in both hot and cold drinks.
It’s perfect for lattes, cappuccinos, and other coffee drinks, as well as smoothies and other recipes that call for milk.
You can also experiment with adding flavorings such as vanilla extract, cocoa powder, or cinnamon to enhance the taste.
These easy recommendations will help you get the most out of your homemade barista oat milk in all of your favorite drinks and recipes while ensuring that it remains tasty and fresh for as long as possible.
Barista Oat Milk Recipes to Try at Home
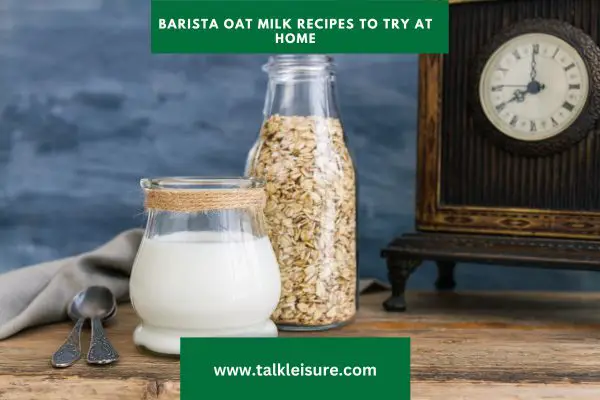
Once you’ve made your own barista oat milk at home, you might be wondering what delicious drinks and recipes you can make with it. Here are a few ideas to get you started.
Oat Milk Latte
A simple but delicious way to enjoy barista-made oat milk is in a classic latte. Brew your favorite espresso or strong coffee, steam your oat milk until frothy, and pour it over your coffee.
You can add a dash of cinnamon or vanilla extract for extra flavor.
Golden Milk Latte
This is a spiced latte made with turmeric, ginger, and other warming spices. It’s perfect for cold days and has a variety of health benefits.
To make a golden milk latte with barista oat milk, warm your oat milk on the stove with turmeric, ginger, cinnamon, and a little bit of honey or maple syrup. Strain the mixture and pour it over your coffee or espresso.
Matcha Latte
For a unique twist on a classic latte, try a matcha latte made with barista oat milk. Whisk together matcha powder and hot water until frothy, and then steam your oat milk separately.
Pour the matcha mixture into a mug, top with the steamed oat milk, and enjoy.
Smoothies
Barista oat milk is also great in smoothies. Blend it with your favorite fruits, veggies, and protein powders for a nutritious and delicious drink.
Overnight Oats
Oat milk is perfect for making overnight oats. Combine rolled oats, barista oat milk, and your favorite toppings (such as fresh berries, honey, or chopped nuts) in a jar and let it sit in the fridge overnight.
In the morning, you’ll have a delicious and healthy breakfast ready to go.
These are just a few ideas to get you started. Experiment with different flavorings and recipes to find your own favorite ways to use your homemade barista oat milk.
Conclusion
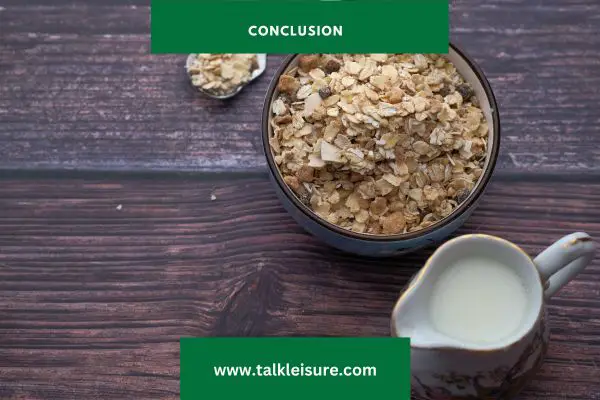
In conclusion, making your own barista oat milk at home is a simple and cost-effective way to enjoy delicious, creamy milk alternatives in your coffee and other recipes.
With just a few ingredients and some basic equipment, you can create a versatile and customizable milk alternative that is perfect for lattes, smoothies, and more.
By following the tips in this guide, you can achieve the perfect texture and froth for your barista oat milk and store it properly to ensure it stays fresh and delicious.
And with the variety of recipes you can make with your homemade barista oat milk, the possibilities are endless.
So why not give it a try and see how easy and tasty it can be to make your own barista oat milk at home?
FAQS
Q: Is it cheaper to make barista oat milk at home than to buy it at the store?
A: Yes, making your own barista oat milk at home is generally cheaper than buying it at the store.
Oats are an inexpensive ingredient, and you can make a large batch of milk at once, which can last for several days.
Plus, you can customize the flavorings and sweetness to your liking, so you don’t have to buy multiple varieties of store-bought milk.
Q: Can I use regular oats instead of steel-cut oats to make barista oat milk?
A: Yes, you can use regular oats instead of steel-cut oats to make barista oat milk.
However, steel-cut oats are preferred because they create a creamier texture and don’t break down as easily as regular oats.
If you don’t have steel-cut oats on hand, you can still make oat milk with regular oats, but the texture may be slightly thinner.
Q: How long does barista oat milk last in the fridge?
A: Homemade barista oat milk can last for up to five days in the refrigerator if stored properly in an airtight container.
Make sure to give it a good shake before using it, as it may separate over time. If you notice any off smells or tastes, discard the milk and make a fresh batch.
Q: What is different about barista Edition oat milk?
A: Barista Edition oat milk is specifically formulated to be used by baristas in coffee shops. It has a creamy texture and a slightly sweeter taste compared to regular oat milk, making it perfect for latte art and other coffee creations.
Q: Does barista Edition oat milk contain oatly?
A: Yes, barista Edition oat milk is made with oatly, a brand of plant-based milk made from rolled oats. Oatly is known for its creamy texture and dairy-free, vegan-friendly ingredients.
Q: Can I make my own oat milk at home?
A: Absolutely! Making your own oat milk at home is easy and cost-effective. All you need is rolled oats, water, and a blender. Simply blend the oats with water, strain the mixture, and you have homemade oat milk!
Q: Is barista Edition oat milk dairy-free?
A: Yes, barista Edition oat milk is completely dairy-free. It is a plant-based milk alternative made from oats, making it suitable for individuals with lactose intolerance or those following a vegan lifestyle.
Q: Can I use barista Edition oat milk in recipes?
A: Absolutely! Barista Edition oat milk can be used in a variety of recipes, including smoothies, baked goods, and sauces. Its creamy texture and mild flavor make it a versatile ingredient in the kitchen.
Q: Does barista Edition oat milk have a slimy texture?
A: No, barista Edition oat milk does not have a slimy texture. It is known for its smooth and creamy consistency, making it a popular choice among baristas and consumers alike.
Q: What is the difference between barista Edition oat milk and regular oat milk?
A: The main difference between barista Edition oat milk and regular oat milk is the texture and taste. Barista Edition oat milk has a creamier texture and slightly sweeter taste, making it more suitable for use in coffee and other specialty beverages.
Q: Can I use barista Edition oat milk like regular dairy milk?
A: Yes, you can use barista Edition oat milk as a substitute for regular dairy milk in most recipes. It can be used in baking, cooking, and even enjoyed on its own as a refreshing beverage.
Q: What are some other brands of oat milk that are similar to oatly?
A: Some other brands of oat milk that are similar to oatly include Califia Farms, Planet Oat, and Quaker Oats. These brands offer their own versions of creamy and delicious oat milk.
Q: Does barista Edition oat milk come in different flavors?
A: Yes, barista Edition oat milk is available in different flavors, including chocolate. These flavored varieties add a touch of sweetness to your morning coffee or can be enjoyed on their own as a tasty treat.
Q: Is barista style oat milk healthy?
A: Barista style oat milk can be a healthier alternative to regular dairy milk. It is generally considered to be healthier because it is dairy-free, vegan, and made from rolled oats.
Q: Can I make my own oat milk at home?
A: Yes, you can make your own oat milk at home. It is a simple process that involves blending rolled oats with water and then straining the mixture to remove any solids. There are many recipes available online that can guide you through the process.
Q: Is barista style oat milk slimy?
A: Barista style oat milk, like oatly, is known for its creamy and non-slimy texture. It is specially formulated to be froth-able and ideal for use in coffee and other beverages.
Q: Is oat milk vegan?
A: Yes, oat milk is vegan. It is made from plant-based ingredients, primarily oats and water, and does not contain any animal products.
Q: Can I use oat milk instead of almond milk in recipes?
A: Yes, you can substitute oat milk for almond milk in many recipes. Oat milk has a similar consistency and can be used as a dairy-free alternative in baking, cooking, and smoothies.
Q: How can I make my own oat milk?
A: To make your own oat milk, you will need rolled oats, water, and a blender. Simply blend the oats and water together until smooth, then strain the mixture to remove any solids. There are many tutorials available online that can guide you through the process in detail.
Q: Is barista style oat milk dairy-free?
A: Yes, barista style oat milk is dairy-free. It does not contain any milk from cows or other animals, making it suitable for those who are lactose intolerant or following a dairy-free diet.
Q: What is the difference between barista milk and regular oat milk?
A: Barista milk, such as oatly barista, is specifically formulated to create a creamy texture and froth well when used in coffee and other hot beverages. Regular oat milk may not have the same consistency or frothing capabilities.