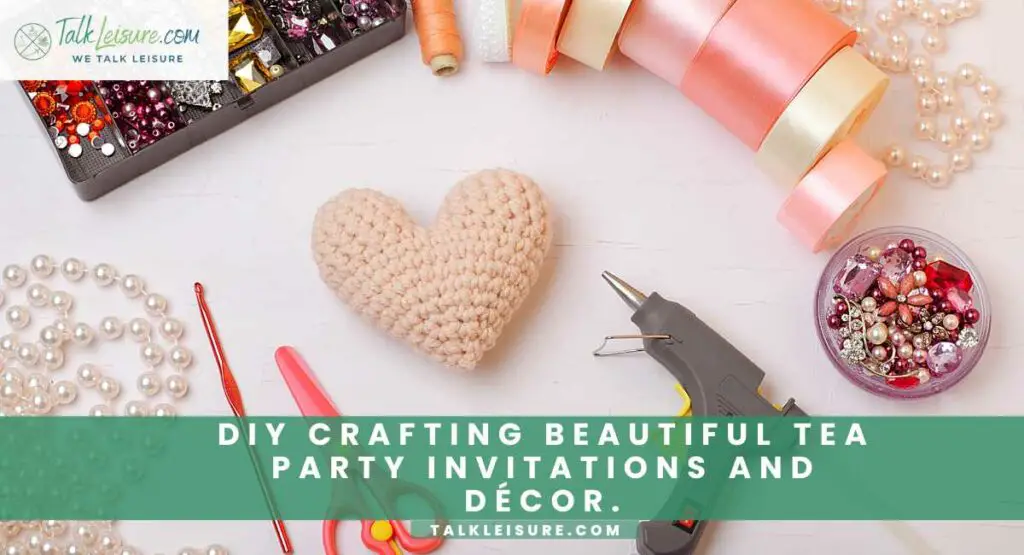
Indulge in crafting and infuse your tea party with an extra dose of charm with our DIY guide to crafting beautiful tea party invitations and décor. Elevate your gathering from ordinary to extraordinary with personalized touches that capture the essence of elegance.
From handcrafted invitations to enchanting table settings, embark on a creative journey that promises a memorable affair. With these step-by-step instructions, you’ll discover how to infuse your tea party with a unique and inviting ambiance, leaving guests delighted and anticipating an experience they won’t soon forget.
A brief overview of the importance of invitations and décor for a tea party
Tea parties are more than just gatherings; they’re moments of shared elegance and delightful company. The invitation and decor set the stage, offering guests a glimpse into the atmosphere and style of the event. In this section, we’ll explore how crafting beautiful invitations and decor can elevate your tea party experience.
Setting the tone for a memorable event.
The first impression matters. By carefully designing invitations and decor, you not only convey essential details but also give guests a taste of the enchantment that awaits them. Creating an inviting and visually pleasing atmosphere sets the stage for a tea party that will be cherished for years to come.
Choosing a Theme and Color Palette
Selecting a theme that complements the tea party concept.
Themes add a special touch to any gathering, and for a tea party, they can transport guests to different eras, places, or even fictional worlds. Here, we’ll delve into the art of selecting a theme that harmonizes with the essence of a tea party, creating an experience that lingers in memory.
Coordinating colors for a cohesive look and feel.
Colors are the palette with which you’ll paint the ambiance of your tea party. From soft pastels to vibrant jewel tones, the chosen color scheme will infuse the event with a specific mood and energy. Discover how to harmonize hues for a cohesive and visually stunning environment.
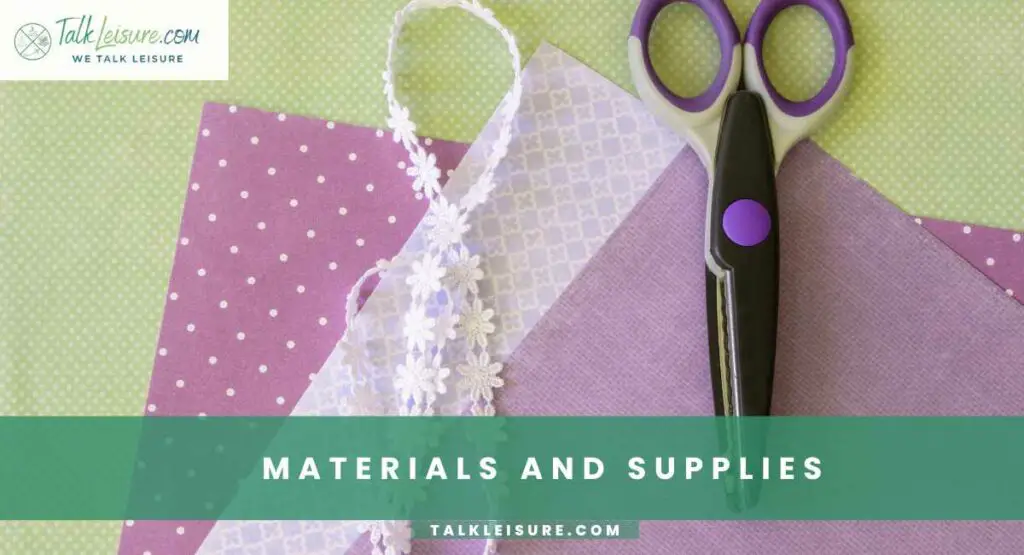
Embarking on your DIY tea party journey requires the right materials and supplies to bring your vision to life. In this section, we’ll explore the essential crafting items needed for creating invitations and decor, as well as savvy tips on sourcing high-quality materials without breaking the bank.
Essential crafting materials needed for invitations and decor
To create exquisite tea party invitations and decor, gather the following essential crafting materials:
Decorative Paper and Cardstock:
Choose a variety of decorative papers and sturdy cardstock in colors and patterns that complement your chosen theme.
Cutting Tools:
Sharp scissors, precision craft knives, and cutting mats are vital for clean and precise cuts when working with paper and cardstock.
Adhesives and Glues:
Select a range of adhesives, including glue sticks, double-sided tape, and craft glue, to securely assemble various elements.
Ribbons and Trims:
A selection of ribbons, lace, and other decorative trims add a touch of elegance to invitations and decor.
Writing and Calligraphy Tools:
High-quality pens, markers, and calligraphy supplies ensure graceful and legible text on invitations and place cards.
Embellishments:
Small decorative elements such as rhinestones, pearls, and dried flowers elevate the overall look of your creations.
Envelopes and Cards:
Ensure you have a sufficient supply of envelopes for your invitations and blank cards for creating personalized messages.
Where to source high-quality materials on a budget
Crafting on a budget doesn’t mean sacrificing quality. Consider these savvy options for sourcing materials without overspending:
Online Craft Retailers:
Websites like Etsy, Amazon, and eBay offer a wide selection of crafting materials at various price points. Look for sellers with positive reviews and competitive prices.
Local Craft Stores and Discount Shops:
Explore nearby craft stores, as well as discount or dollar stores, which often carry a range of affordable crafting supplies.
Wholesale or Bulk Suppliers:
Buying materials in larger quantities from wholesale or bulk suppliers can result in significant cost savings, especially for frequently used items like paper and adhesives.
Crafting Swaps and Secondhand Markets:
Join crafting communities or attend swap events where enthusiasts trade or sell their unused materials. Additionally, thrift stores often have hidden treasures for crafters.
Online Marketplaces and Auctions:
Keep an eye on online marketplaces like Facebook Marketplace or local buy/sell groups, where individuals may offer crafting supplies at discounted prices.
By strategically sourcing materials, you can maintain quality while staying within budget, allowing you to bring your tea party vision to life with creativity and finesse.
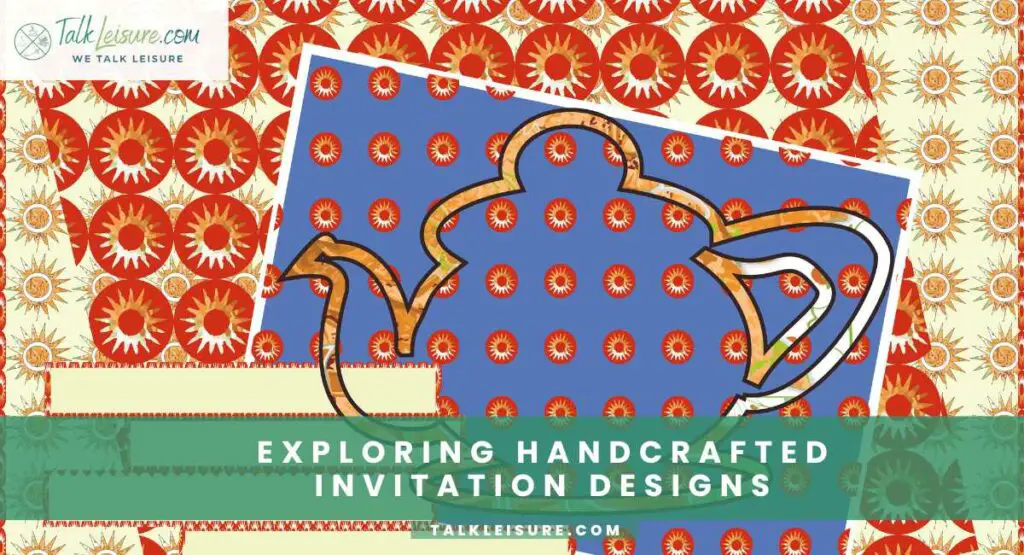
Certainly! Here are step-by-step instructions for creating each of the four additional DIY tea party invitation ideas:
Tea Bag Envelope Invitations:
Materials Needed:
Decorative paper or cardstock
Tea bags with strings
Small tags
Stickers or decorative tape
Steps:
Cutting the Tea Bag Envelopes:
Take your decorative paper or cardstock and cut it into the shape of a tea bag. You can find printable templates online or create your own by drawing a tea bag shape with a straight top and rounded bottom.
Creating the Tea Bag Tag:
Write or print out the party details on small tags. Include information like the date, time, location, and RSVP instructions.
Attaching the Tea Bag:
Insert a real tea bag into each envelope. Attach the tag with the party details to the string of the tea bag. Ensure the tag is securely fastened.
Sealing the Envelope:
Seal the tea bag envelope with a sticker or decorative tape. This not only adds a finishing touch but also reinforces the tea bag illusion.
Floral Watercolor Invitations:
Materials Needed:
Blank cards or cardstock
Watercolor paints
Brushes
Water
Pencils (for sketching, if desired)
Steps:
Prepping the Surface:
Begin with clean, blank cards or cut cardstock to your desired size. Ensure the surface is smooth and suitable for watercolors.
Sketching the Floral Design (Optional):
If you’d like, lightly sketch the floral design using a pencil. This will serve as a guide for your watercolor painting.
Painting the Floral Design:
Use watercolor paints to create a soft, floral design on the front of the card. Start with lighter colors and gradually build up the layers.
Allowing to Dry:
Let the watercolor painting dry completely before moving on to any additional steps.
Vintage Tea Spoon Invitations:
Materials Needed:
Miniature decorative tea spoons
Ribbon
Adhesive (such as glue or double-sided tape)
Steps:
Attaching the Tea Spoon:
Apply a small amount of adhesive to the back of the tea spoon’s handle. Carefully attach it to the front of the invitation card.
Tying the Ribbon:
Tie a small ribbon around the handle of the teaspoon. This not only adds a decorative element but also ensures the spoon stays securely attached.
Lace Doily Pocket Invitations:
Materials Needed:
Lace doilies
Blank cards or cardstock
Scissors
Adhesive
Steps:
Creating the Pocket:
Fold the lace doily in half to create a pocket. Trim any excess lace if needed.
Inserting the Invitation Card:
Place the blank card or cardstock with the party details inside the lace pocket. Ensure it fits snugly.
Sealing the Pocket (Optional):
If desired, use a small amount of adhesive to secure the edges of the pocket, ensuring the invitation card stays in place.
Pressed Flower Invitations:
Materials Needed:
Blank cards or cardstock
Pressed flowers or dried petals
Clear adhesive or glue
Fine-tip markers or calligraphy pen (optional)
Steps:
Selecting and Arranging Flowers:
Choose a variety of pressed flowers or dried petals that complement the color scheme of your tea party. Arrange them on a clean surface to plan out your design.
Applying Adhesive:
Using a clear adhesive or glue, carefully attach the pressed flowers to the front of the invitation card. Arrange them in a way that creates a visually appealing composition.
Adding Details (Optional):
If desired, use fine-tip markers or a calligraphy pen to add any additional details, such as the party date, time, and location. Choose a font style that complements the natural aesthetic of the pressed flowers.
Allowing to Dry:
Let the adhesive dry completely before handling or sending out the invitations.
Protecting the Flowers (Optional):
To ensure the pressed flowers stay in place, you can apply a thin, clear adhesive sealant over the top. This will provide extra protection and a slight gloss to the flowers.
This pressed flower invitation idea adds a touch of nature’s beauty to your tea party invitations, creating a unique and memorable keepsake for your guests. Enjoy crafting!
Remember to customize these steps based on your preferences and the materials you have available. Enjoy crafting your beautiful tea party invitations!
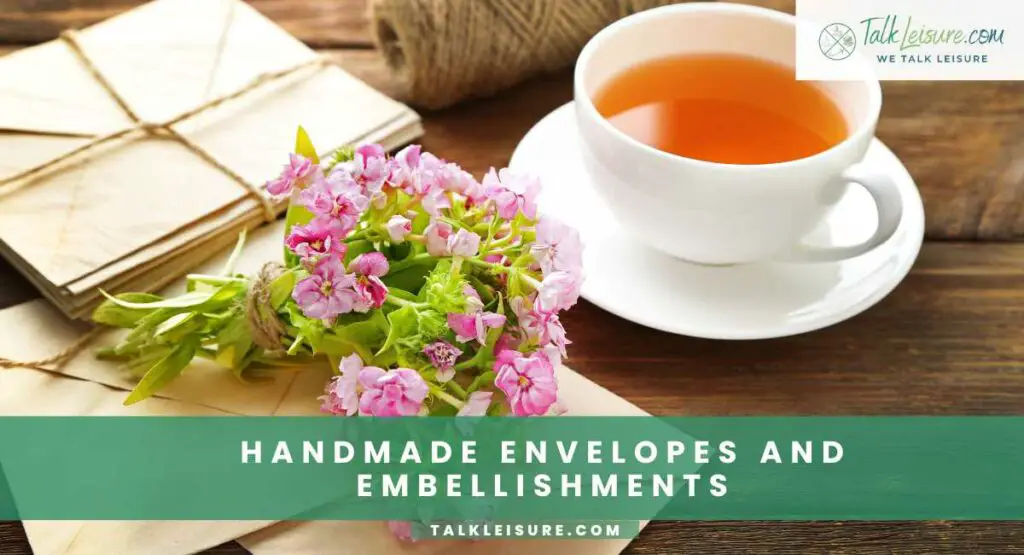
Handmade Envelopes and Embellishments
Handmade Envelopes and Embellishments
Crafting your envelopes and adding unique embellishments can elevate the presentation of your tea party invitations. Follow these steps to create personalized and visually stunning envelopes.
Step-by-step guide to creating decorative envelopes
Creating handmade envelopes allows you to infuse your invitations with a touch of DIY charm. Follow these steps to craft decorative envelopes that will leave a lasting impression on your guests:
Gather Your Materials:
Start by collecting decorative paper or cardstock, glue or adhesive, a ruler, a bone folder (or the back of a spoon), and scissors.
Select Your Envelope Template:
Choose a suitable template or create your own by tracing an existing envelope onto your chosen paper. Ensure the size complements your invitation.
Cut and Score the Paper:
Carefully cut out the envelope shape using your template. Use a ruler to score along the folding lines. This will help create crisp, clean folds.
Fold and Assemble:
Fold along the scored lines to create the basic envelope shape. Use a bone folder or the back of a spoon to smooth out the creases. Apply adhesive to the flaps and carefully seal the envelope.
Add a Closure (Optional):
For an extra touch, consider adding a closure such as a sticker, wax seal, or ribbon. This not only secures the envelope but also adds a decorative element.
Adding embellishments for an extra touch of elegance:
Embellishments are the finishing touches that give your invitations a touch of opulence and individuality. Here’s how to add that extra layer of elegance:
Selecting Embellishments:
Choose embellishments that align with your tea party theme. This could include lace, ribbon, dried flowers, charms, or even small trinkets.
Placement and Adhesion:
Decide where to place your chosen embellishments. Use a dab of glue or double-sided tape to secure them in place. Take care to ensure they are securely attached.
Balancing the Design:
Keep a balanced composition in mind. Distribute embellishments evenly and ensure they complement the overall aesthetic of the invitation.
Consider Layers and Texture:
Experiment with layering different embellishments for added depth and texture. For example, combine a ribbon with a small dried flower or a delicate charm.
By following these steps, you’ll create handmade envelopes with carefully selected embellishments that add a touch of elegance and individuality to your tea party invitations.
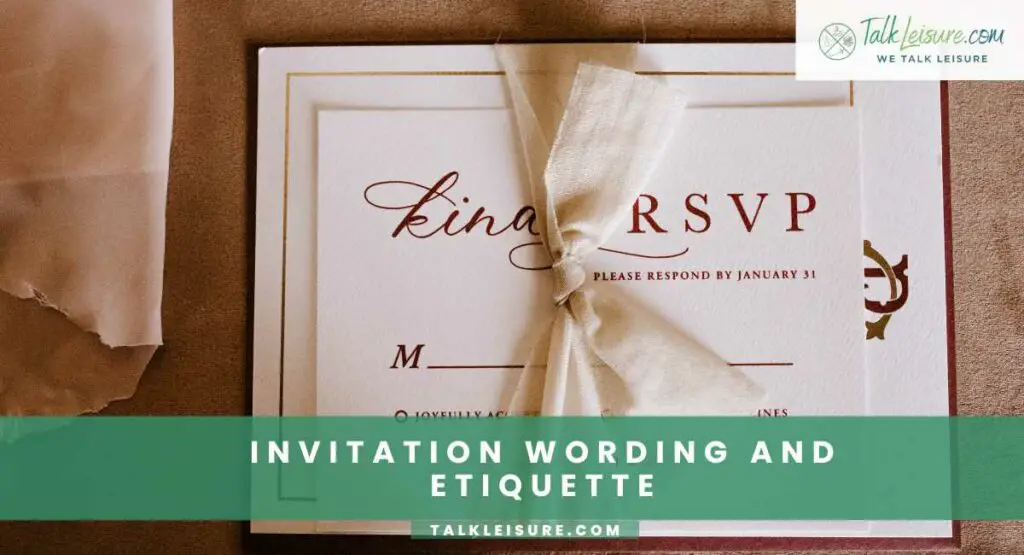
Invitation Wording and Etiquette
Invitation Wording and Etiquette
Getting the wording and etiquette just right on your tea party invitations sets the tone for a warm and welcoming gathering. Follow these guidelines to ensure your invitations are both inviting and proper.
Crafting inviting and gracious language for your tea party invitations
The language you use in your invitations sets the mood for your tea party. It should be warm, inviting, and reflective of the atmosphere you want to create. Here’s how to craft the perfect invitation wording:
Start with a Warm Greeting:
Begin your invitation with a friendly greeting. Consider phrases like “You’re cordially invited” or “Join us for an enchanting afternoon.”
Include Essential Details:
Clearly state the date, time, and location of the tea party. Be specific to avoid any confusion.
Set the Dress Code (if any):
If there’s a specific dress code, such as “Garden Party Attire” or “Casual Elegance,” mention it courteously.
Express Anticipation and Appreciation:
Convey your excitement about hosting the tea party and your anticipation of the guests’ presence. Thank them for considering your invitation.
RSVP Information:
Clearly state the RSVP deadline and provide contact information (phone number or email address) for responses. Express that their timely response is greatly appreciated.
Proper etiquette for addressing guests and providing RSVP information
Proper etiquette ensures that your guests feel valued and respected. Follow these guidelines for addressing guests and managing RSVPs:
Addressing Guests with Care:
Use titles and last names when addressing formal invitations (e.g., Mr. Smith, Mrs. Johnson). For more casual gatherings, first names are acceptable.
RSVP Deadline and Contact Information:
Clearly state the RSVP deadline, typically two to three weeks before the event. Provide a contact number or email address for responses.
Include Response Options:
Give guests the option to RSVP by phone or email, and consider providing a pre-addressed and stamped RSVP card for added convenience.
Send Reminders (if Necessary):
If you haven’t received a response close to the deadline, a gentle reminder is appropriate. Kindly inquire if they are able to attend.
Thank Guests for RSVPing:
Express gratitude to guests who have promptly responded. This shows appreciation for their consideration.
By following these invitation wording and etiquette guidelines, you’ll create an inviting and well-mannered atmosphere for your tea party.
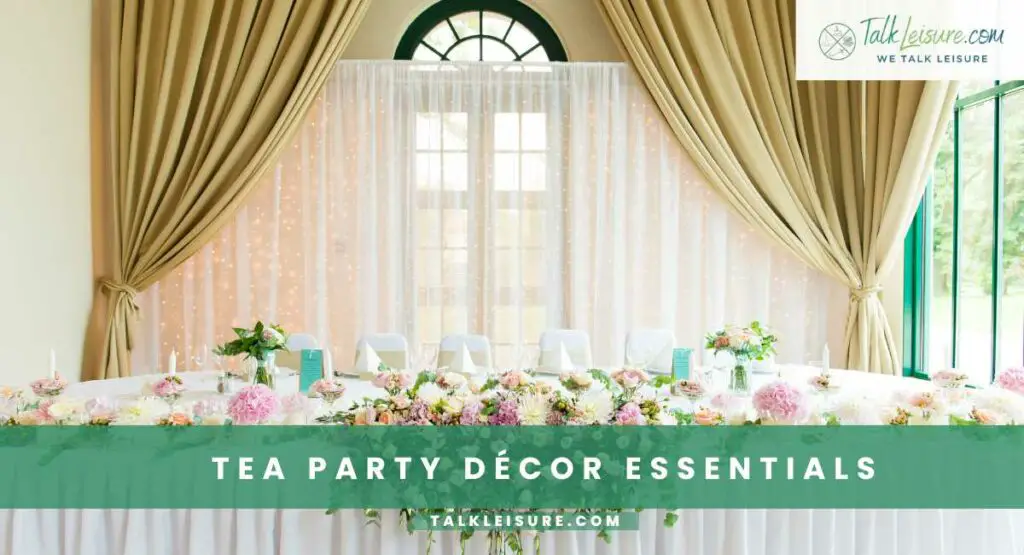
Tea Party Décor Essentials
Tea Party Décor Essentials
Creating a captivating atmosphere for your tea party involves carefully selecting decor elements that evoke a sense of charm and elegance. From table settings to centerpieces, here are the essential decor items that will set the stage for an unforgettable tea party.
Must-have decor items for a charming tea party atmosphere:
To infuse your tea party with a captivating ambiance, consider incorporating these essential decor items:
Linen Tablecloths and Napkins:
Opt for soft, pastel-colored linens to create a delicate and inviting backdrop for your tea party setting.
Fine China and Tea Sets:
Elevate the experience with beautifully patterned tea cups, saucers, and teapots. Mix and match for an eclectic, vintage feel.
Delicate Tea Plates and Tiered Stands:
Arrange an assortment of finger sandwiches, scones, and pastries on dainty plates and tiered stands for an elegant display.
Fresh Flowers or Greenery:
Incorporate fresh blooms or greenery in small vases or as part of centerpieces to add a natural, lively touch to your decor.
Candles or Tea Lights:
Create a warm and inviting atmosphere with the soft glow of candles or tea lights placed strategically around the tea party area.
Decorative Tableware and Utensils:
Consider embellished teaspoons, sugar tongs, and other ornate utensils to add a touch of refinement to the table setting.
Creative ideas for table settings, centerpieces, and more
Here are some imaginative suggestions to take your tea party decor to the next level:
Themed Centerpieces:
Create centerpieces that align with your chosen tea party theme, such as mini topiaries for a garden party or vintage books and teacups for a literary-themed event.
Lace Doilies as Placemats:
Use delicate lace doilies as placemats to add a touch of vintage charm to each place setting.
Personalized Place Cards:
Craft individual place cards for guests, adding a personal touch and helping to organize seating arrangements.
Creative Napkin Folding:
Experiment with different napkin-folding techniques to add visual interest to each place setting.
DIY Bunting or Garlands:
Create your own fabric or paper bunting or garlands to hang around the tea party area for a festive touch.
Vintage Teacup Candle Holders:
Repurpose vintage teacups by turning them into charming candle holders. Simply place a tea light inside each cup.
By incorporating these decor essentials and creative ideas, you’ll create a tea party atmosphere that captivates your guests and leaves them with lasting memories.
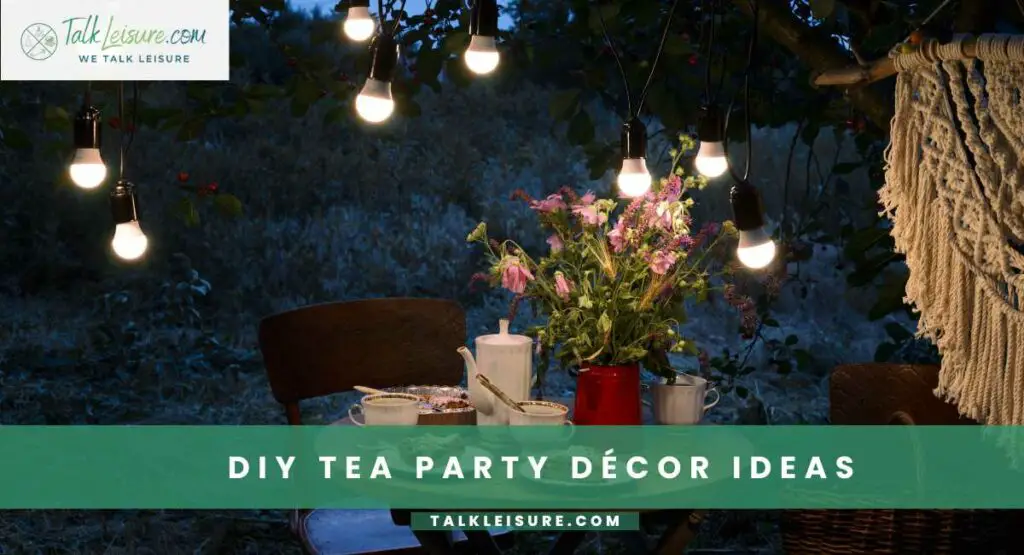
DIY Tea Party Décor Ideas
DIY Tea Party Décor Ideas
Here are some creative DIY tea party decor ideas to enhance the ambiance of your event:
Floral Garland Backdrop:
Create a stunning backdrop using fresh or artificial flowers. Arrange them in a garland or drape them elegantly to add a touch of natural beauty to your tea party setting.
Vintage Teacup Candles:
Repurpose old teacups as candle holders. Melt wax and pour it into the teacup, inserting a wick in the center. Once cooled, you’ll have charming teacup candles to decorate your tables.
Teapot Flower Arrangements:
Use vintage teapots as vases for floral arrangements. Fill them with fresh blooms that match your color scheme to create elegant centerpieces.
Lace Doily Table Runners:
Create a delicate table runner using lace doilies. Arrange them end-to-end to cover the length of your table for a vintage-inspired look.
Paper Lanterns with Tea Lights:
Hang paper lanterns adorned with tea lights to add a warm and enchanting glow to your outdoor tea party.
Floating Teacup Centerpieces:
Create whimsical centerpieces by securing teacups to saucers and filling them with water. Float small flowers or candles inside for a magical effect.
Mismatched China Place Settings:
Embrace the eclectic charm by using an assortment of mismatched china for place settings. Mix and match patterns and colors for a unique and inviting table setting.
Herb Garden Place Cards:
Attach small potted herbs to each place setting, such as rosemary or mint, and tie a tag with the guest’s name. This serves as a charming party favor and adds a natural element to the table.
Vintage Books as Centerpieces:
Stack old books with elegant covers to create unique centerpieces. Top them with small flower arrangements or tea light candles for added flair.
DIY Paper Flower Decor:
Craft paper flowers in various sizes and colors to create beautiful floral arrangements that won’t wilt. Arrange them in vases or use them to decorate the table.
Tea Tin Candle Holders:
Repurpose empty tea tins by placing tea lights inside. Puncture small holes in the tin to create patterns that allow the candlelight to shine through.
Hand-painted Teapot Planters:
Paint and decorate teapots to transform them into charming planters. Fill them with small flowering plants or succulents to add a touch of nature to your decor.
Remember to personalize these ideas to match your specific theme and color scheme. With a little creativity and DIY spirit, you can create a memorable and inviting atmosphere for your tea party!
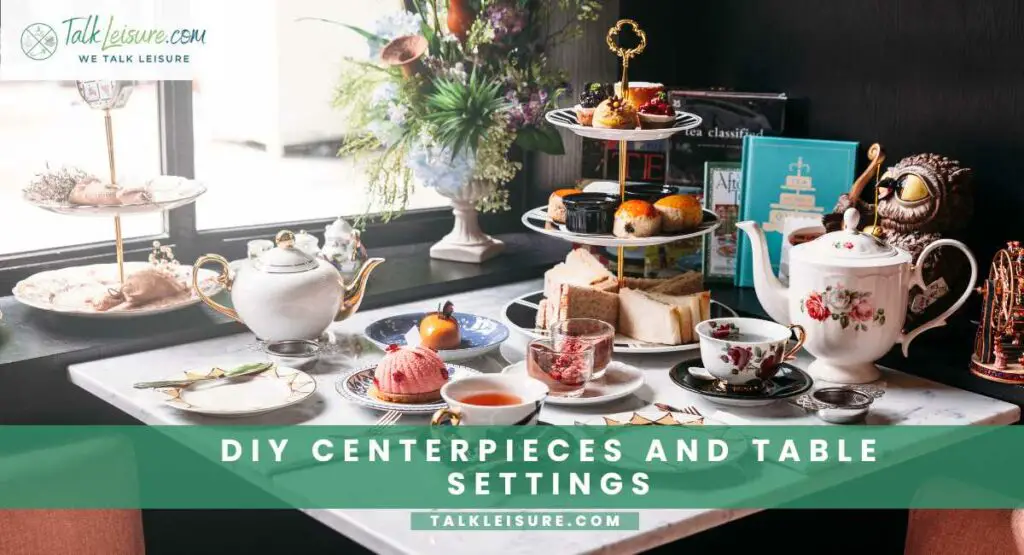
DIY Centerpieces and Table Settings
DIY Centerpieces and Table Settings
Elevate the aesthetic of your tea party with eye-catching centerpieces and thoughtfully arranged table settings. These DIY ideas will serve as stunning focal points for your event.
Creating stunning focal points for your tea party tables:
Centerpieces are the heart of your table decor. Here’s how to craft captivating focal points:
Teapot Flower Arrangements:
Repurpose vintage teapots as charming vases. Fill them with fresh blooms that complement your color scheme.
Candlelit Elegance:
Arrange an assortment of candles in varying heights and sizes as a centerpiece. Opt for elegant holders or DIY candle holders for added flair.
Tiered Tray Display:
Create a multi-tiered tray with an assortment of tea-themed treats, such as macarons, petit fours, and tea sandwiches. This not only serves as a centerpiece but also offers a delightful treat for guests.
Miniature Garden Terrariums:
Craft small terrariums with succulents, moss, and small decorative elements. These mini gardens bring a touch of nature to your tables.
Floral Wreath Centerpiece:
Craft a wreath using fresh or faux flowers that complements your tea party theme. Place it in the center of the table for a striking focal point.
Incorporating natural elements and flowers for a fresh, inviting look
Infuse your table settings with the beauty of nature for a fresh and inviting atmosphere:
Herb-Infused Place Settings:
Place small potted herbs, like rosemary or lavender, at each setting. Guests can take them home as charming party favors.
Botanical Table Runners:
Create a table runner using fresh or dried eucalyptus branches, ferns, or other greenery. This adds a touch of natural elegance to the table.
Fruit and Floral Displays:
Incorporate bowls of fresh fruits, such as lemons or berries, alongside floral arrangements for a vibrant and inviting look.
Napkin Rings with Greenery:
Craft napkin rings using small sprigs of greenery or flowers. These add a delightful touch to each place setting.
Seasonal Accents:
Tailor your decor to the season by incorporating seasonal blooms, fruits, or foliage. This adds a timely and fresh feel to the table.
Personalized Place Cards and Seating Arrangements
Creating individualized place cards and organizing seating arrangements ensures a comfortable and enjoyable gathering for your guests.
Crafting individual place cards for guests:
Personalized place cards add a special touch to your tea party. Here’s how to craft them:
Selecting Materials:
Choose cardstock, decorative paper, or other materials for your place cards.
Writing Names:
Write or print each guest’s name on the place card using elegant handwriting or a calligraphy pen.
Adding Decorative Elements (Optional):
Embellish the place cards with small decorative elements like ribbon, dried flowers, or wax seals for an extra touch of elegance.
Organizing seating arrangements for a comfortable and enjoyable gathering
Thoughtful seating arrangements contribute to a harmonious gathering. Consider these tips:
Consider Guest Preferences:
Take into account any special preferences or requirements when assigning seats, such as dietary restrictions or preferred company.
Balancing Personalities:
Aim for a mix of personalities and interests at each table to facilitate engaging conversations.
Create a Seating Chart (if necessary):
For larger gatherings, consider creating a seating chart to ensure a balanced distribution of guests.
Table Assignments or Free Seating:
Decide whether you’ll assign specific tables and seats or allow guests to choose their own.
Be Mindful of Relationships:
Seat guests who know each other or have common interests together to encourage lively conversation.
By following these DIY centerpiece and table setting ideas, as well as personalized place card and seating arrangement tips, you’ll create a warm, inviting, and enjoyable atmosphere for your tea party.
Conclusion
As we conclude our journey through DIY tea party invitations and decor, we hope you’ve found inspiration to craft an enchanting event. By infusing personal touches into every detail, from bespoke invitations to captivating centerpieces, you’ve set the stage for an unforgettable gathering.
The beauty of handmade elements lies not only in their visual appeal, but in the warmth and thoughtfulness they convey. As guests step into your tea party, they’ll be greeted by an atmosphere that radiates care and creativity. With these DIY techniques, you’ve transformed a simple gathering into a cherished memory, proving that the true essence of hospitality lies in the details. Cheers to a delightful tea party!
How to Set a Traditional High Tea Table: A… Welcome to the world of sophistication and charm—the art of setting a traditional high tea table. Whether you're hosting a quaint gathering or just yearning…
The Charming Traditions of Children's Tea Parties. Step into a world where teacups hold tales and laughter dances with delicate aromas. Join us on a whimsical journey into the enchanting traditions of…
How to Host an Unforgettable Vintage Tea Party. Welcome to the world of refined elegance and timeless charm—the art of hosting an unforgettable vintage tea party. This guide is your ticket to orchestrating…
DIY: How to Craft Your Own Personalized Tea Blends. Welcome to the enchanting world of tea blending, where creativity meets tradition in a symphony of flavors. Crafting your personalized tea blends is more than…