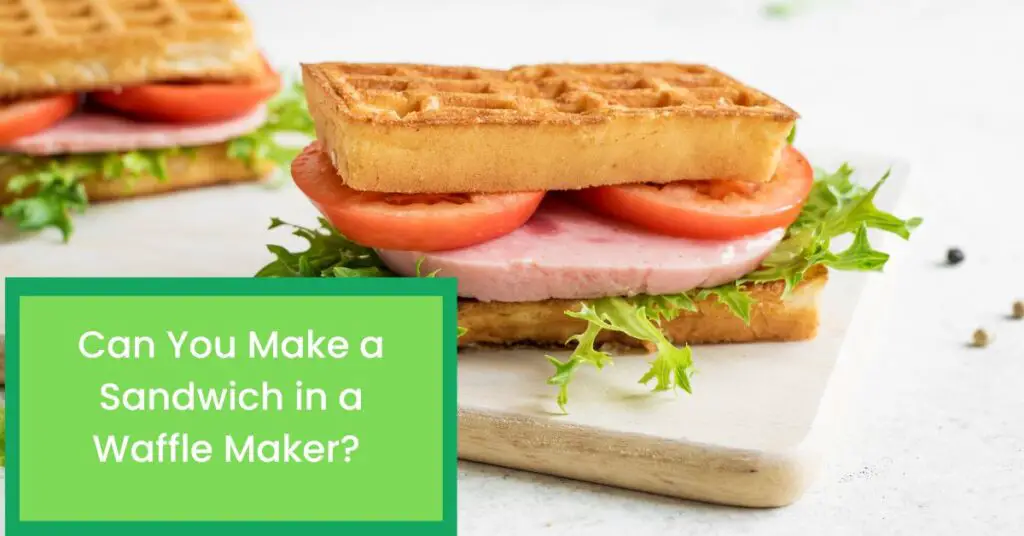
Did you know that the average American consumes approximately 23 pounds of ice cream annually?
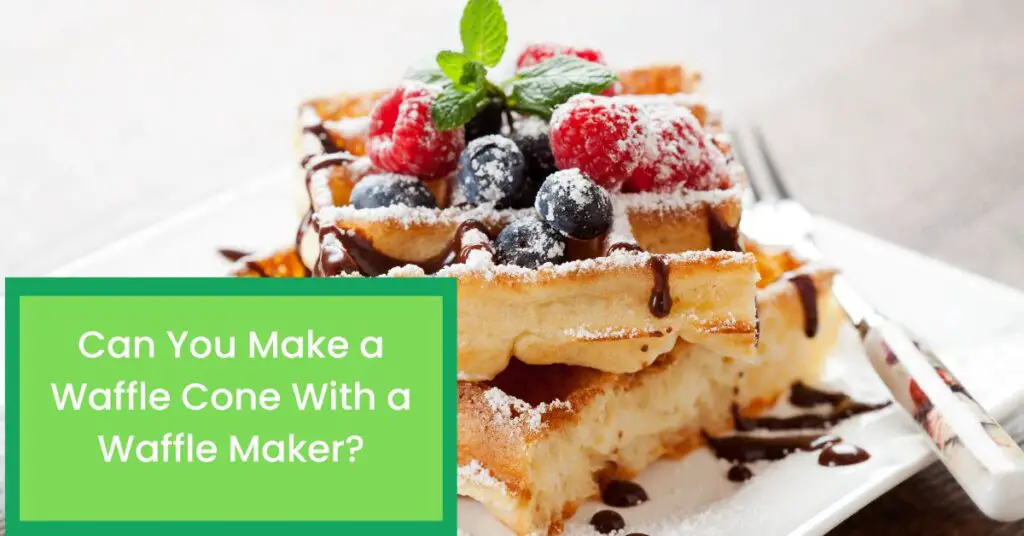
And while store-bought waffle cones may be convenient, making your homemade version without a waffle iron can be as easy and rewarding.
To make waffle cones without a waffle iron, mix waffle batter, spread thin circles on a hot pan, flip when golden, shape like cones, and cool.
This article will show you how to make delicious waffle cones using simple ingredients and basic kitchen tools.
Whether you want to impress your guests at a summer barbecue or treat yourself to a sweet indulgence, these homemade waffle cones will satisfy your cravings.
So, let’s get started!
Gather Your Ingredients And Supplies

You’ll need simple ingredients and basic kitchen tools to create these delicious treats.
First, you’ll need alternative tools to make waffle cones without a waffle iron.
You can use a stove-top griddle or even a panini press. If you’re feeling adventurous, you can also try using an electric pancake maker.
In terms of ingredients, you’ll need flour, sugar, salt, eggs, vanilla extract, milk, and butter. For the flavors of your cone, try adding cocoa powder for chocolate cones or cinnamon for a spicy twist.
Now that you have all your supplies ready let’s prepare your batter.
Prepare Your Batter

Now it’s time to whip up a batter that’ll blow your taste buds away and have you licking the bowl clean.
First, gather all of your dry ingredients in a large mixing bowl. This includes flour, sugar, and salt. Mix them with a whisk until they’re fully combined. Next, add your wet ingredients – eggs, vanilla extract, melted butter, and milk.
Use an electric or hand mixer to beat the mixture until smooth and free of lumps.
Be careful not to overmix the batter, leading to tough waffle cones.
Aim for a consistency similar to pancake batter – thin enough to spread easily but thick enough to hold its shape on the waffle cone maker.
Once you’ve achieved the right consistency, prepare your work surface by covering it with parchment or wax paper.
Prepare Your Work Surface

To ensure a smooth and easy process, it’s important to cover your work surface with parchment or wax paper before assembling your waffle cone.
Choosing the right materials is crucial for this step. Make sure you have enough parchment or wax paper to cover your entire work area and that it sticks securely in place.
Additionally, consider using a non-stick spray on the surface for added ease of use.
Cleaning your work area is also important for preparing your work surface. Before starting, wipe down the area with a damp cloth to remove any debris or residue that may interfere with the assembly process.
This will help prevent any unwanted bits from getting stuck in your cones. Once you’ve covered and cleaned your work area, you’re ready to move on to shaping your cones!
Shape Your Cones

Now that you’ve prepared your work surface, it’s time to shape your waffle cones.
Start by rolling the batter into cones while it’s warm and pliable.
Don’t worry if you don’t have a waffle iron because you can still shape your cones without one.
With a little practice, you can create perfectly shaped waffle cones every time!
Rolling The Batter Into Cones
You’ll be amazed how easy it is to shape the batter into crispy, handheld treats that perfectly complement your favorite flavor of ice cream. To start rolling your waffle cones, follow these four simple steps:
- Place a generous spoonful of batter on one end of parchment paper.
- Using the back of the spoon, spread the batter into a thin round shape about 5 inches in diameter.
- Starting at the bottom edge, gently roll the parchment paper and batter into a cone shape, tucking the bottom edge under to seal it closed.
- Hold the cone upright for about 30 seconds to allow it to set and cool slightly before transferring it to a wire rack to finish cooling completely.
After mastering this rolling technique, try experimenting with different cone-shaped variations, such as pointed or flat ends.
In just a few minutes, you can have freshly baked waffle cones ready for scoops of your favorite ice cream flavors!
Transition smoothly into shaping cones without a waffle iron; let’s explore some creative ways you can mold your homemade cones by hand.
Shaping Cones Without A Waffle Iron
If you don’t have a waffle iron, you can use alternative shaping methods to create your homemade cones.
One method uses a cone-shaped mold made of aluminum foil or parchment paper. Form the mold into the desired cone shape and wrap it tightly with the foil or paper.
Then, carefully spoon the batter onto the mold, spreading it evenly with a spatula until it covers the entire surface.
Another method is to shape the cones using a wooden dowel or rolling pin.
Roll out small circles of batter on parchment paper and then wrap them around the dowel or rolling pin while they are still warm.
Hold them in place until they cool down and harden into their cone shapes.
Once you’ve shaped your cones, get creative with decorations!
Consider dipping them in melted chocolate and sprinkling them with nuts or candy pieces for an added crunch.
Preheat your oven according to your recipe instructions and place your shaped cones on a baking sheet lined with parchment paper.
Bake Your Cones

Now that you’ve shaped your cones, it’s time to bake them to perfection.
Preheat your oven to 350 degrees Fahrenheit and line a baking sheet with parchment paper.
Place the cones on the sheet and bake for 6-8 minutes or until golden brown.
Make sure to keep an eye on them so they don’t burn!
With these simple steps, delicious homemade waffle cones will be ready quickly.
Preparing The Oven For Baking
To ensure your homemade cones are crispy and golden, it’s crucial to preheat the oven properly before baking.
First, adjust the temperature of your oven to 350°F. This is the ideal temperature for baking waffle cones without a waffle iron.
Parchment paper on a baking sheet is also essential to avoid sticking and make clean-up easier.
Once you’ve adjusted the oven temperature and lined your baking sheet with parchment paper, it’s time to place your cone molds on top of the paper.
Ensure adequate space between each mold so that it can spread out when baked.
Once you have arranged them all, place them in the center of your oven for about 7-8 minutes or until they turn golden brown.
With these simple steps, you can make delicious homemade waffle cones without an expensive waffle iron!
Baking The Cones To A Golden-Brown Color
Achieving a perfect golden-brown color on your homemade cone requires proper baking in the preheated oven.
Before you pop them in, prepare the baking sheet with parchment paper and give each cone enough space to spread out.
Here are some techniques for baking:
- Rotate the baking sheet halfway through baking to ensure an even bake.
- Monitor the cones closely towards the end of their bake time to avoid overbaking.
- If you notice that some cones are browning faster than others, move them around on the sheet so they all have equal exposure to heat.
- If your cones come out undone, try increasing your oven temperature by 25 degrees and reducing their bake time by a minute or two.
On the other hand, if you notice that your cones have become overdone and burned, reduce your oven temperature by 25 degrees and increase their bake time slightly until they turn golden brown without burning. With these tips in mind, you’ll be able to achieve perfectly baked waffle cones every time!
Now that you’ve successfully baked your waffle cones, it’s important to let them cool completely before handling or storing them.
Cool And Store Your Cones

Once your cones have cooled, you’ll want to find a safe spot for them before chomping down on the deliciousness inside.
Cool waffle cones at room temperature for 30 minutes, then store in an airtight container to prevent moisture absorption, maintaining freshness and crunchiness.
Creative serving ideas can turn your homemade waffle cones into a show-stopping dessert.
Fill them with different flavors of ice cream and top them off with whipped cream, nuts, or sprinkles.
You can dip the edges in melted chocolate and roll them in crushed cookies or candy.
Homemade ice cream recipes are an excellent way to enjoy your freshly made waffle cones fully.
Store your cones in an airtight container at room temperature to keep them crispy and fresh for up to one week.
When ready to serve, scoop some of your favorite ice cream into each cone and savor every bite.
Try different variations by adding fruit coulis, caramel sauce, or fudge on top of the ice cream for an extra touch of sweetness.
Try Different Variations

Now that you’ve learned how to cool and store your homemade waffle cones, it’s time to get creative with the flavors and toppings.
Don’t limit yourself to just vanilla or chocolate cones – try different variations to add excitement to your ice cream treats!
Here are some ideas for different waffle cone flavors:
- Matcha green tea
- Cinnamon sugar
- Lemon zest
- Cocoa powder
And don’t forget about the toppings!
Here are some creative cone-topping options:
- Crushed cookies
- Rainbow sprinkles
- Mini chocolate chips
- Chopped nuts
Mix and match different flavors and toppings for a truly unique ice cream experience. So go ahead, let your imagination run wild!
In the next section, we’ll share tips and tricks for perfecting homemade waffle cones.
Tips And Tricks To Make Home-Made Waffle Cone

Now, if you want to step up your ice cream game and add some pizzazz to your homemade cones, these tips and tricks will help take your creations to the next level.
When making waffle cones without a waffle iron, it’s important to consider alternative methods.
You can either use a stovetop method or mold the cones by hand.
The stovetop method involves using a non-stick frying pan on low heat and pouring batter onto it in batches while flipping it until both sides are golden brown.
On the other hand, molding the cones by hand requires shaping hot off-the-pan flat circles into cone shapes with a cone-shaped tool or wooden spoon.
To avoid any potential mishaps when creating these cones, here are some troubleshooting tips that can come in handy.
- Firstly, ensure not to overfill the molds, which will cause them to overflow and become messy.
- Secondly, be patient when molding them; they need time to cool before being removed from their molds or shaped into cones.
- Lastly, don’t forget that practice makes perfect – so don’t be discouraged if your first few attempts don’t go according to plan!
With these helpful tips and tricks in mind, you’ll be well on your way toward enjoying delicious homemade waffle cones with all your favorite ice cream flavors!
Enjoy Your Homemade Waffle Cones!

Get ready to indulge in the ultimate sweet treat experience with your own homemade waffle cone – it’s time to taste the love and satisfaction of creating something delicious from scratch!
Now that you’ve mastered making waffle cones without a waffle iron, it’s time to enjoy them. Here are some tips on how to serve and fill your homemade waffle cones:
- Fill ‘Em Up: Get creative with your fillings – try adding ice cream, whipped cream, chocolate chips, fruit slices, or even cereal for a fun twist.
- Keep Them Fresh: Store your homemade waffle cones in an airtight container to keep them fresh and crisp.
- Serve in Style: Place your filled cones in a decorative holder or stand for an impressive presentation.
- Share the Love: Sharing is caring – make extra cones and share them with friends and family for a sweet surprise.
With these ideas, you can experiment with different flavors and fillings to create unique treats that everyone will love.
So go ahead and get creative – there’s no limit to what you can do with homemade waffle cones!
Conclusion
Congratulations! You’ve successfully made your homemade waffle cones without a waffle iron.
Now it’s time to enjoy the fruits of your labor and indulge in some delicious ice cream with your freshly made cones.
Remember, practice makes perfect, so don’t be afraid to experiment with different variations and flavors.
Add cocoa powder for chocolate waffle cones, or sprinkle some cinnamon for a spicy twist. The possibilities are endless!
And who knows? Maybe next time, you’ll even try making your ice cream to go along with it.
Making waffle cones without a waffle iron may seem daunting initially, but anyone can do it with these simple steps and tips.
So gather your ingredients, prepare your batter, shape those cones, bake them to perfection, and enjoy every delicious bite!
Frequently Asked Questions
Are There Any Alternative Ingredients That Can Be Used Instead Of The Ones Listed?
When it comes to cooking, experimenting with flavorful twists and unexpected options can lead to some truly incredible dishes.
Whether swapping out flour for an almond meal or using coconut milk instead of heavy cream, there are countless ways to breathe new life into old recipes.
So, next time you find yourself without a crucial component, don’t be afraid to think outside the box and see what kind of magic you can create with what you have.
How Long Does The Batter Need To Rest Before Using It To Make The Cones?
If you want to make the perfect waffle cones, it’s important to pay attention to two key factors: resting time and batter consistency.
The batter for waffle cones typically needs to rest for about 30 minutes before using it.
This resting time allows the ingredients to combine fully and helps make the cones crispier and tastier.
So, after making the batter, give it around 30 minutes to rest, and then you can start making your delicious waffle cones!
Can The Cones Be Made Ahead Of Time And Stored For Later Use?
If you want to make waffle cones ahead of time, several storage options are available.
First, you can store the cones in an airtight container at room temperature for up to 2 days.
Another option is to freeze the cones in a ziplock bag for up to 1 month.
To reheat the cones, place them in a preheated oven at 300°F for about 3-5 minutes until they become crisp again.
Alternatively, you can put them in a microwave for about 10 seconds on high power.
Regardless of your chosen method, your waffle cones will taste just as delicious as when freshly made!
How Do You Prevent The Cones From Becoming Soggy Or Losing Their Shape?
To keep your ice cream cones from getting soggy or losing their shape, it’s important to take a few simple steps.
First, make sure you’re using good-quality cones that are sturdy.
Next, scoop your ice cream into the cones just before serving to prevent them from getting soggy too quickly.
You can seal the bottom tip of the cone with some melted chocolate to stop leaks.
Placing a small marshmallow at the bottom of the cone before adding the ice cream can act as a barrier, further preventing fogginess.
Lastly, store your cones in an airtight container to maintain their crispness until you’re ready to enjoy them. These easy tips will help ensure your ice cream cones stay crisp and delicious.
Are There Any Variations For Making Savory Waffle Cones Instead Of Sweet Ones?
Yes, you can make savory waffle cones by changing the ingredients.
Instead of sugar, add salt, pepper, and your favorite herbs or spices to the waffle batter.
You can also mix in cheese, chopped vegetables, or bacon bits. Cook the batter in a waffle cone or shape it into cones while it’s still warm.
Fill them with savory fillings like scrambled eggs, chicken salad, or taco meat for a delicious twist on waffle cones.
Best Wishes!